As the COVID-19 pandemic continues to worsen day by day, I have been staying at home and making as many masks as possible to donate to hospitals. It is also a good chance for me to make new friends who are also sewers, and they are cutting all the fabric they have in hand – bed sheets, old shirts, pants – to make masks. I believe that although we are not frontline workers who directly fight against the coronavirus, we can help.
Not long ago, I came across a video on Facebook (and I forgot to save the link) of a group of scientist in Czech. They explained why Czech seemed to be quite peaceful in this COVID-19 crisis. They did everything similar to what Canada, the U.S and other governments do: telling people to stay at home, practice social distancing, cough/sneeze etiquette. But one thing that they did differently: requiring everyone, yes, everyone, not only the ones who were already sick, to wear mask when they are out. They proved that 95% of the droplets emitted when someone cough or sneeze are caught inside the mask (no matter if it is a medical grade mask, or a simple homemade mask). And when everyone wears mask, people are protecting each other from the pandemic. Thousands of people in Czech have started sewing masks at the early stage of the pandemic, and everyone in the country was provided with masks.
I also believe that this is a great way to prevent the spread of the COVID-19. After all, if we all wear masks, I protect you, you protect me, and we can all win. That’s why I have been making masks an give them away. I hope that we can all have at least a few masks to wear, not only to protect ourselves, but also protect others.
I also give out materials to local sewers in Toronto to make face masks. I do not have much, but some elastic, non-woven fabric, nose wire can help people, and I am happy about that. I also sell them in my small shop for just a small amount of money to cover the cost of me buying them and giving out.
I am so touched when I receive little gifts from other sewers who came and take the elastic or nose wire hung in front of my door. And I am happy to make new friends in this difficult time (although we never really meet because of social distancing). This really helps me to overcome the boring days inside the four walls.
By the way, I discovered a totally new way to sew a mask. It is so simple that it does not require a pattern, and the only sewing skill that you need is sewing straight lines. I am making masks in this way and think that it is so much faster than the previous ones (the classic fitted mask and the folded mask).
The fit of this style is similar to the folded mask, and it is easy to add a pocket for filter.
Let’s start making this new style of mask – I name it The Easiest DIY Face Mask Ever!
What you’ll need:
1. 2 pieces of fabric with dimensions below:
– Female face: 17.5cm x 20.5cm (6.89in x 8.07in)
– Male face: 21.5cm x 23.5cm (8.47in x 9.25in)
– Kid’s face: 15cm x 18cm (5.9in x 7.1in)
You can also use one piece of fabric and cut it on fold.
2. Nose wire (10cm/4in long)
3. Elastic cord (2 x 12.5cm/5in). You can replace it with strips cut from an old T shirt, or bias tape, or whatever you can get your hands on.
If you are looking for materials to make face mask, visit our little store here:
We have plastic nose wire, elastic, non-woven fabric for filters, anti-microbial fabric masks, hand made fabric masks to meet your needs. All items are ready in stock and will be shipped from Toronto, Canada. Same day shipping for orders before 3:00 PM. Free standard shipping for orders from US$75.00.
Step 1: Cut the fabric of your chosen size.
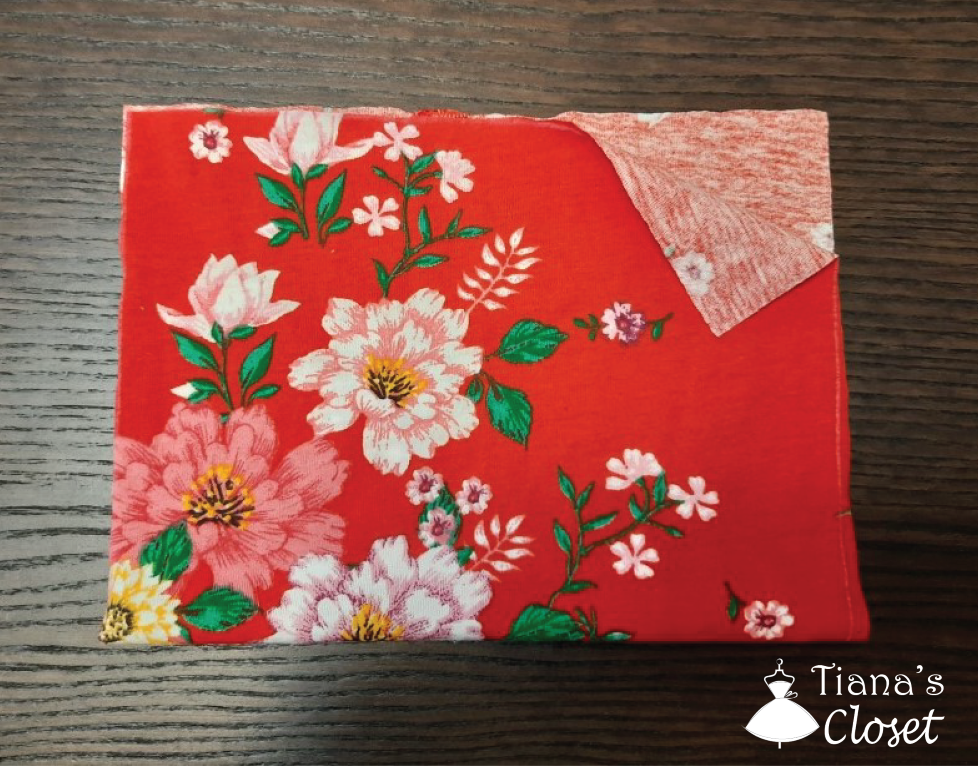
Step 2: Place the pieces right side facing and sew around, leave a small opening.
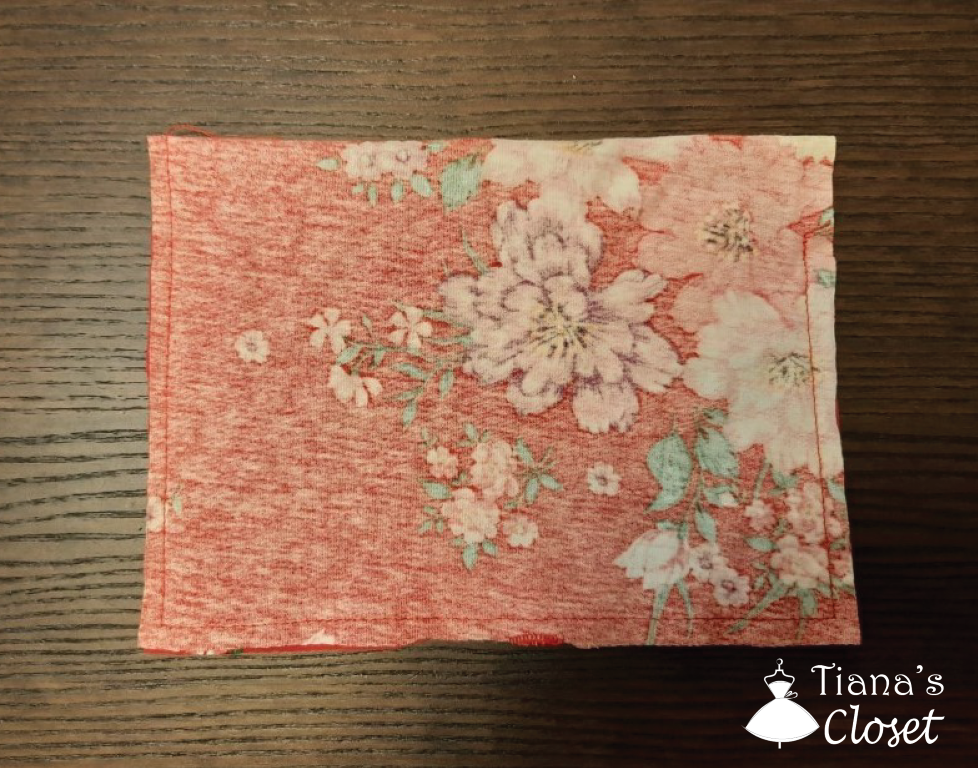
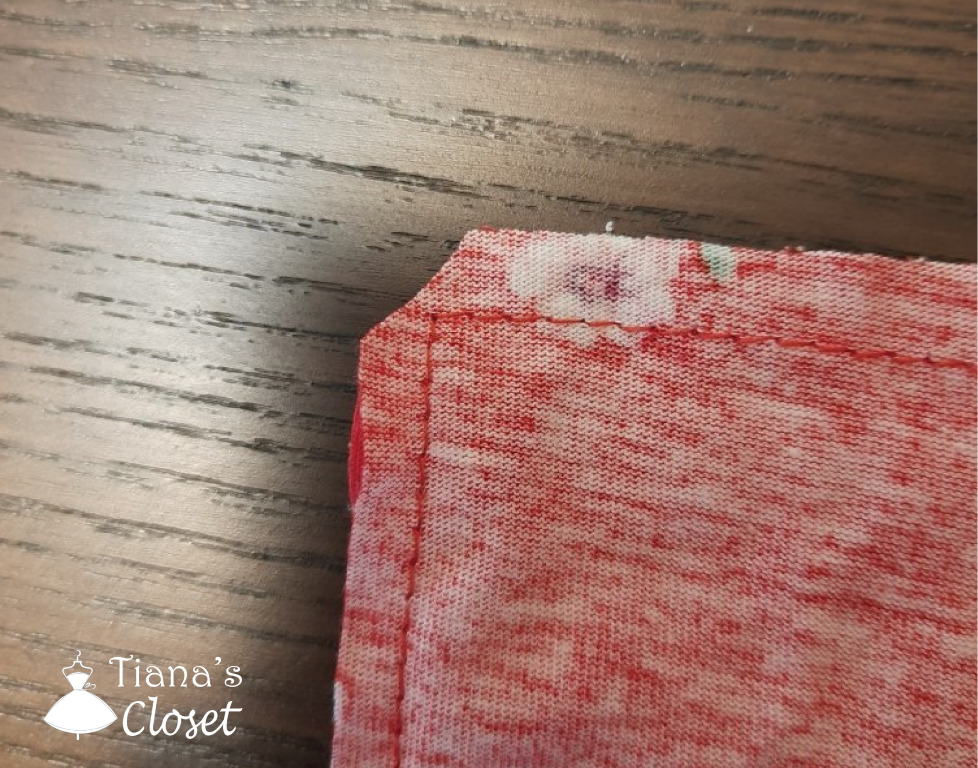
Step 3: Clip the corner and turn the mask inside out.
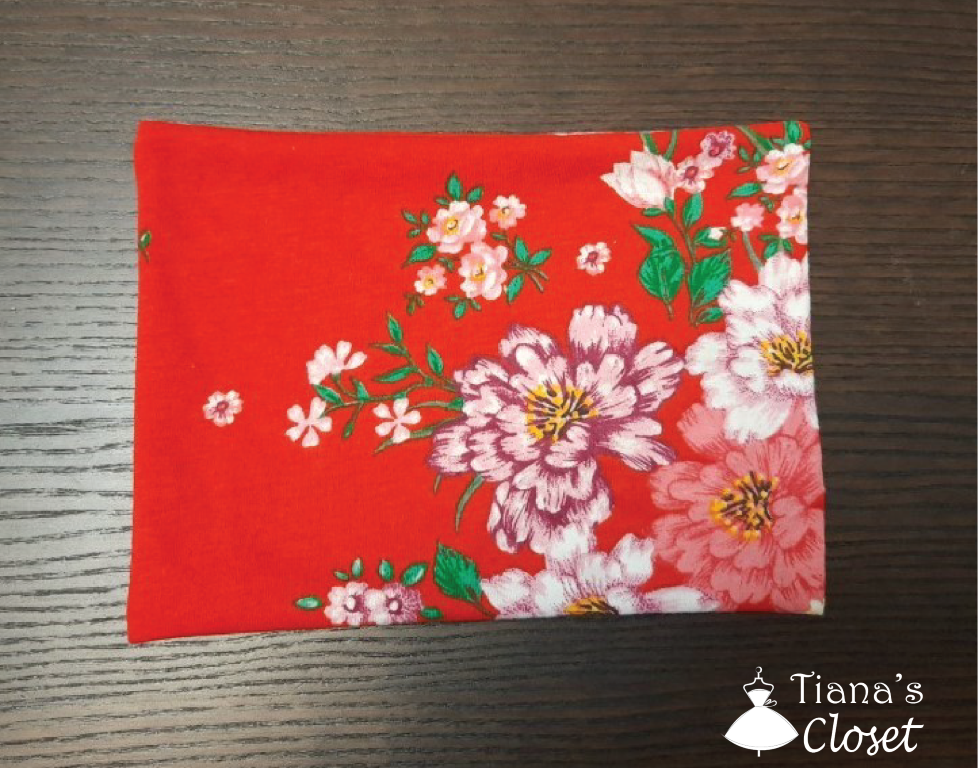
Step 4: Insert the nose wire through the opening (you can skip this if you don’t have one). Fold the opening in, hold the nose wire closely to the edge and topstitch all around.
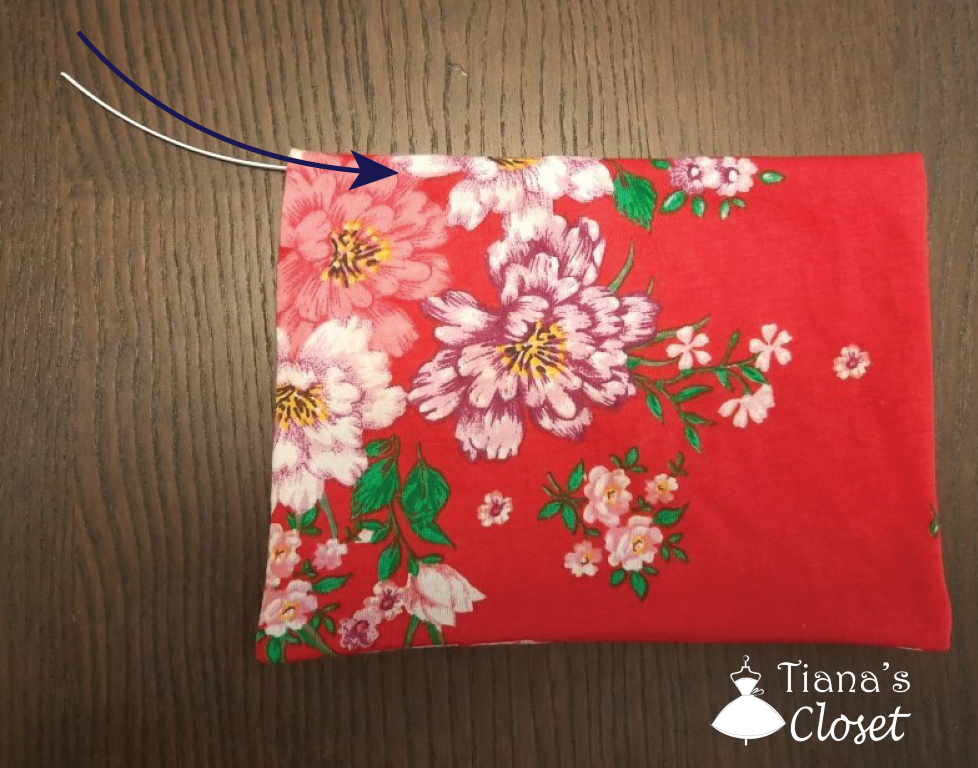
Here’s how it looks after topstitching.
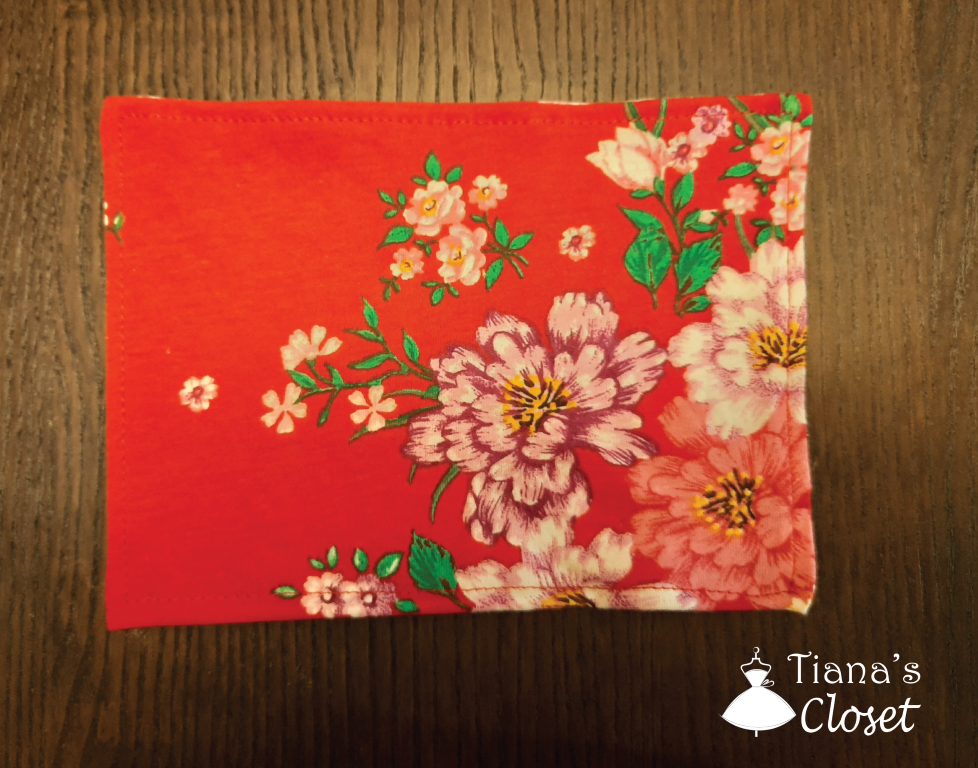
Step 5: Divide each side of the rectangle into 4 equal parts. Fold the top and bottom edges of the mask to the center line and draw 4 lines as shown in the picture.

Step 6: Sew the 4 lines that you drew, backstitch to secure.
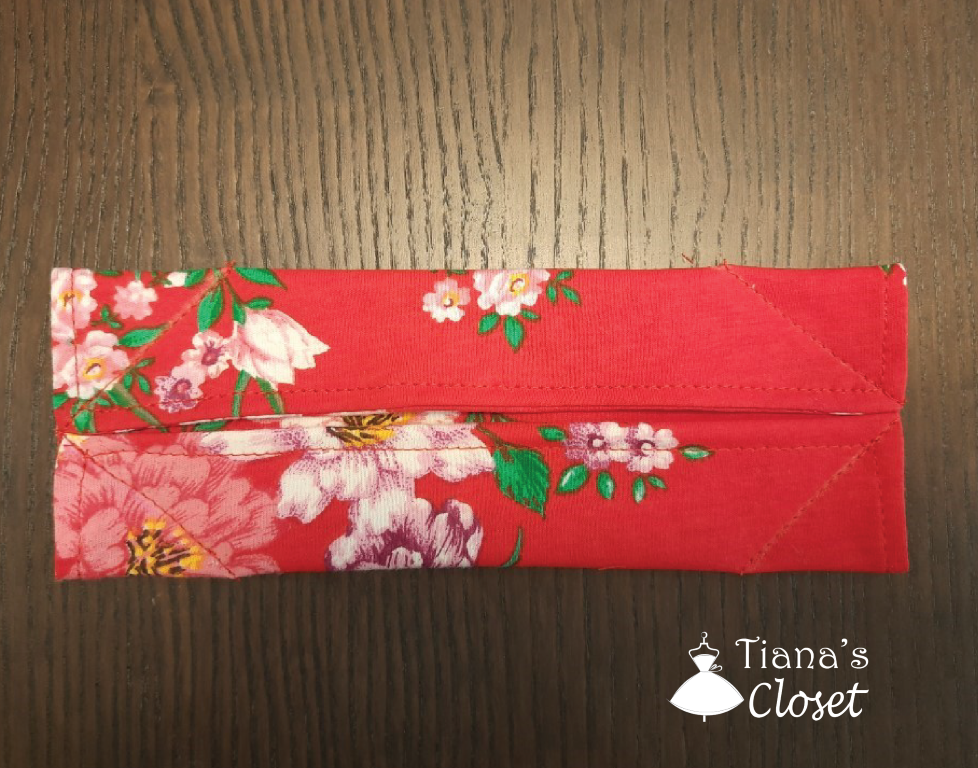
And this is the front.
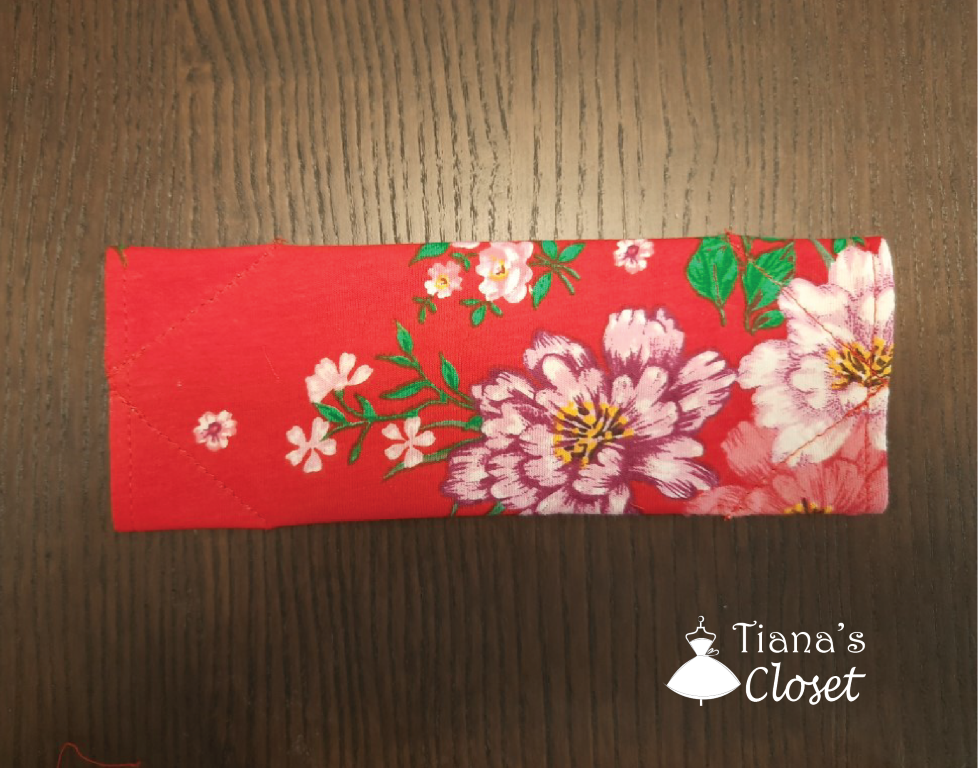
Step 7: Attach a 12.5cm/5in long elastic cord to each side of the mask. You can replace elastic with long fabric strings and tie at the back of your head. The length of the elastic may vary depending on the elasticity of your material, so feel free to try before actually sewing it in.
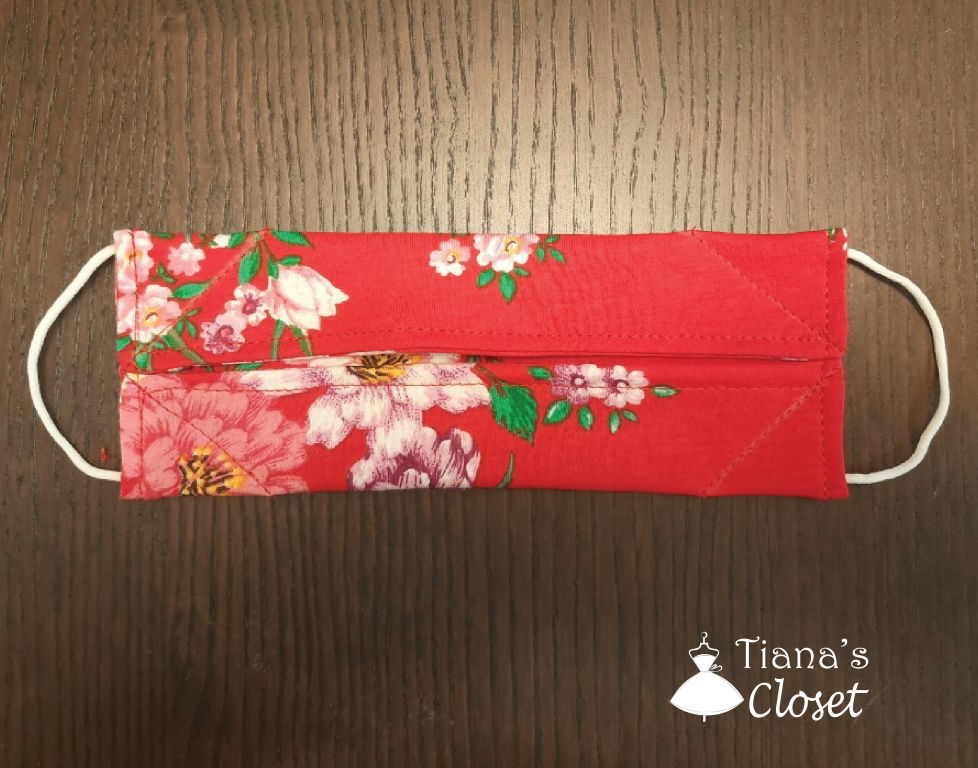
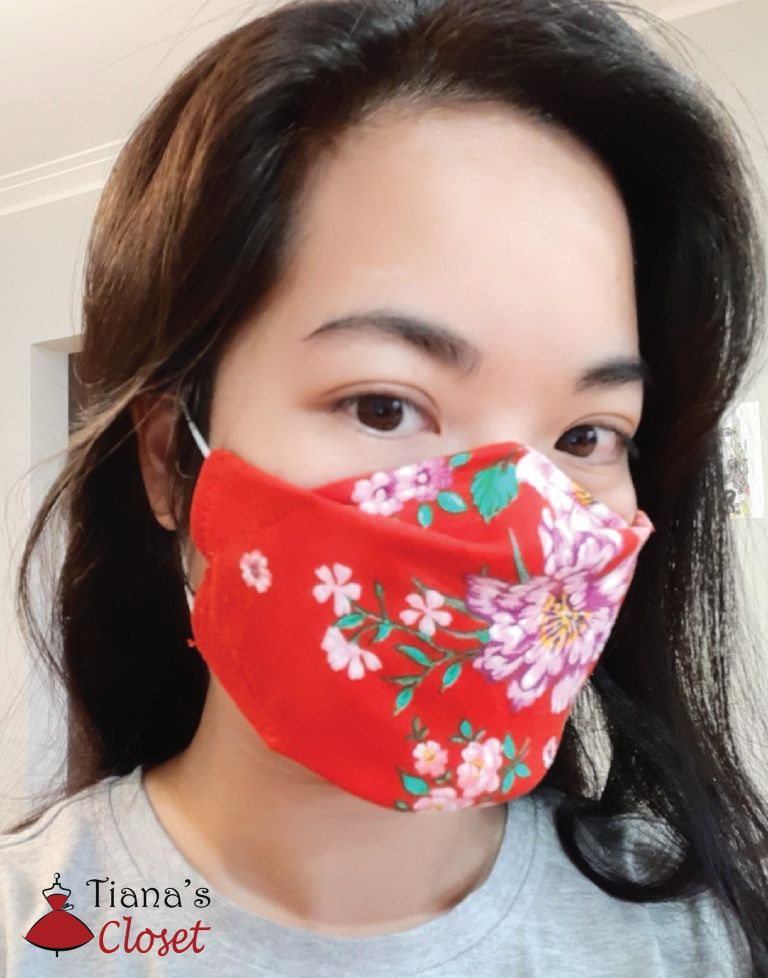
And voilà! You got it – the Easiest DIY Face Mask Ever. Do you believe me now? I bet you can never find any other easier one with this nice fit.
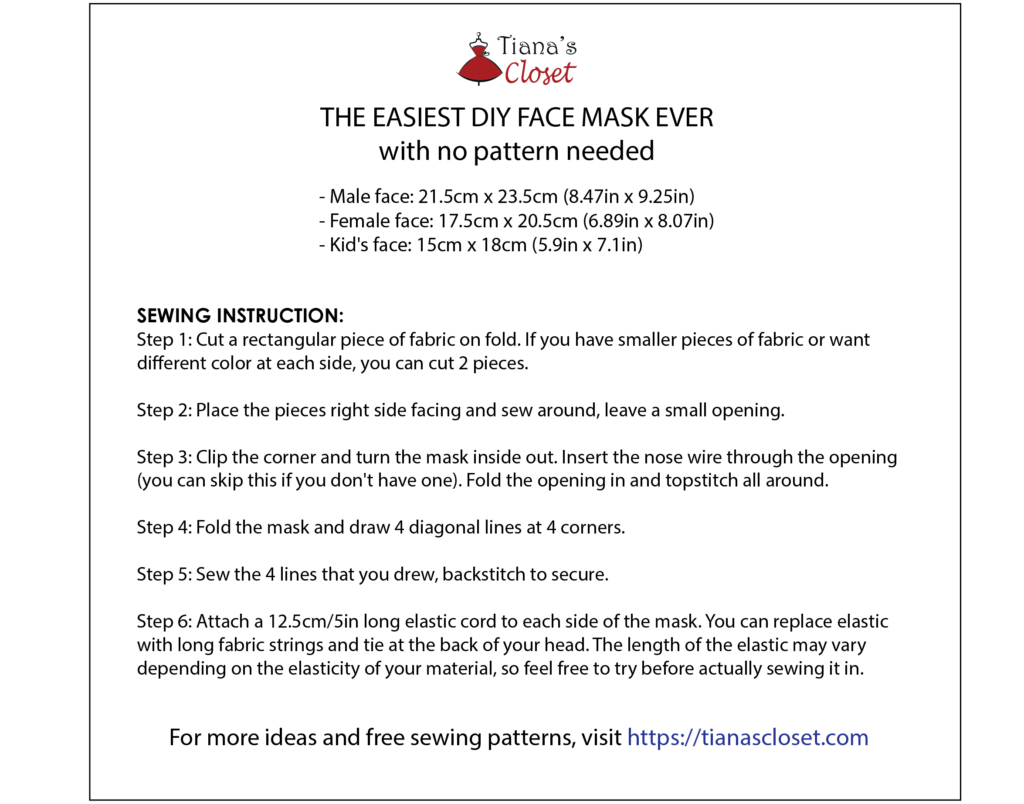
And here is a summary of the steps in case you want to save it to your device:
I also have a version of this mask with pocket. I have made a video tutorial of it here:
Now, grab your scissors and start cutting fabric. Masks for all!
Also, if you wonder what materials can be used to make face mask filter, read this post: DIY face mask filter materials
See my other posts in the DIY masks series here:
How to use your face mask the right way
Face mask filter materials – what can we use for DIY face masks?
Happy sewing, and stay safe!
Tiana


Pingback: Sewing your own face mask to fight against the coronavirus pandemic (with pattern and photo sewing instruction) – Tiana's Closet
You do a very Impressive job on your directions and pictures!!!
One question though….What KIND OF WIRE ARE YOU USING???
I don’t think florist wire would endure the repeated washing which is all I’ve got,
I use plastic nose wire which can endure multiple washings. You can find it here: https://fayrie.com/collections/diy-face-mask
I read that pipe cleaners can work. At Dollar Tree, I found a plastic covered wire in the garden department that looks quite sturdy and is very flexible.
When you draw the diagonal lines from the sides to the top and bottom of mask,(at 4 corners) what are the measurements? How far in are you marking the fabric?
I wrote it on the pic, that’s 1/4 of the total length of the sides
You can easily mark the 1/4 point by folding the side twice. You can see in the video tutorial. I fold the fabric to get the center line, and then fold the top and bottom edge to the center line.
Thank you for a really nice new pattern and very clear directions. You are doing a great service that will touch many thousands of folks. Bless you!
Is there a way to make this mask (the easiest possible one) totally reversible or is it already reversible and I am just not wrapping my brain around the look of the finished mask cirrectly? Thanks for some great patterns.
No, it’s not reversible, it’s one-sided.
I just made a prototype with pins and I’m really excited to sew it together after some sleep. It is beautiful and fits great so far. Thank you for this new pattern. I came back to your website to get a similar pattern you have that includes a filter pocket, but this pattern is much more manageable (less steps). Thank you for your hard work!
Thank you, I even have an even simpler mask pattern now, with fewer steps and still with a pocket. Stay tuned!
Do you have the original pattern. I can’t locate it. Thanks
Pingback: The 1-minute no sew face mask – Tiana's Closet
Pingback: The 1-minute no sew face mask – Tiana's Closet
Hello! First I’d like to say I love your folded mask patterns. Thank you for going through the trouble of writing them up with illustrations and photos, and sharing them with the public. I do have a couple of questions. How much are you allowing for seam allowances? Also, is there a reason, other than keeping things simple and quick, that there is no Step 8 to add topstitching at the top and bottom edges as in your other similar pattern? Thanks again.. Linda.
Pingback: Simple DIY face mask that can be done in no time (even without a sewing machine) – Tiana's Closet
What are the dimensions of the pocket? I cut mine too small.
Also, when you place the pocket onto the mask, do you place it running down the length or across with the width?
I could not tell from the video. Thank you.
Hello, Thank you for sharing your patterns and sewing video. Can you please share the measurements of the pocket for the video version? Thank you.
The pocket is the same height (the two sides that you insert elastic) and half width (the side you insert nosewire) of the main pattern. It only need to be wide enough to cover your nose and mouth (about 4-5in)
Pingback: Face Mask Diy Elastic Length – Custom Masks – Custom Face Masks
Thank you for posting the video of this as I can adapt the process for a bit larger size to accommodate a full beard as well (for my 21 y/o son). Just to note, the measurements in the video with the pocket are slightly confusing if looking at the inch measurements. They list the inch measurements as the same for both M and L but should be 8.46 in X 9.25 in for the large size. The metric measure was correct though 🙂
Stay Safe
Thanks for your video, I made two of these masks and like the style very much.
There is less fogging of my glasses than with the pleated masks and they are simple to make.
As an afterthought I added a piece of calico on the inside for a filter pocket.
I also like the way the elastic can be slipped into the edges of the mask and easily sewn down.
Pingback: Free PDF pattern: 2 layer face mask with filter pocket – Tiana's Closet
I’m super new to sewing and for some reason having a very hard time determining which length folds down. So if I was sewing the female one would you fold down 17.5cm side or 20.5cm side. Thank you.
Hi there, you should fold down the 17.5cm side. The 20.5cm side is actually the width of the mask (across your face).
Thank you!