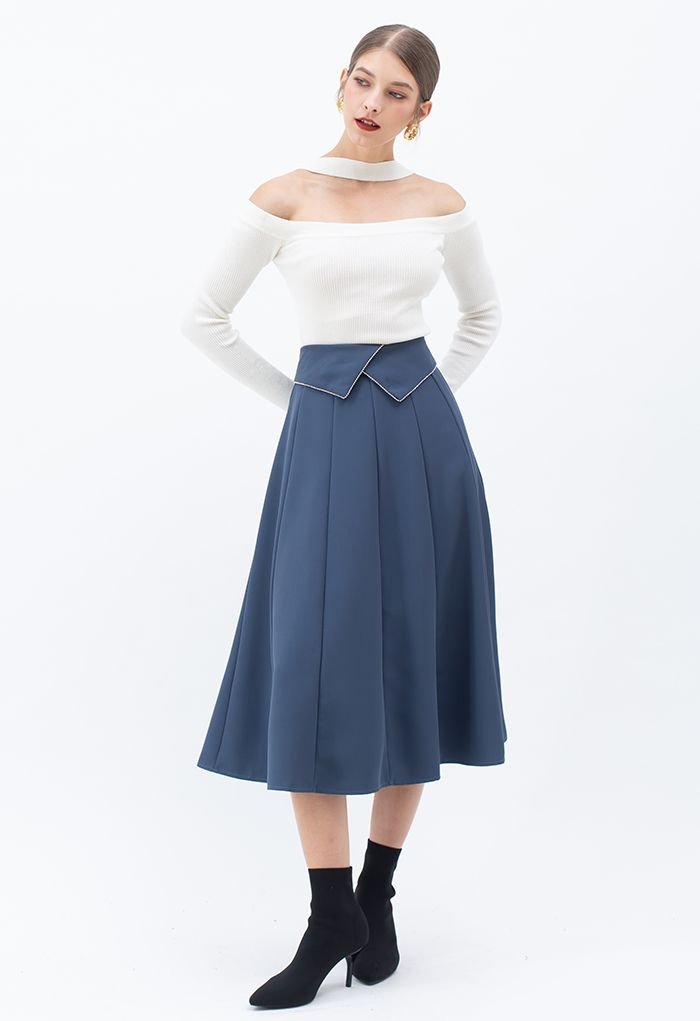
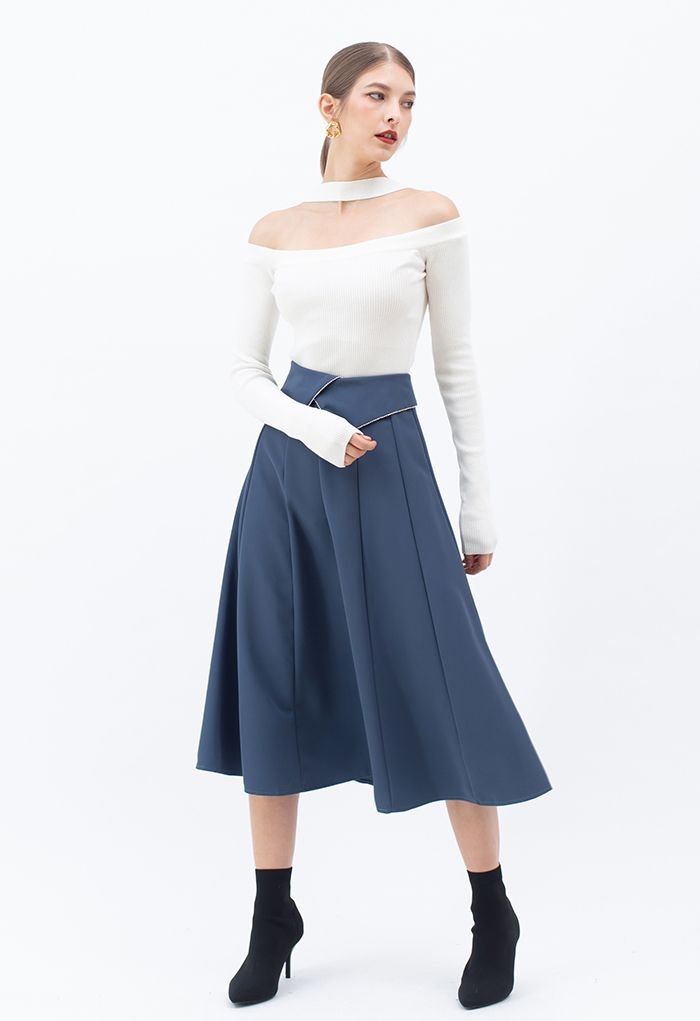
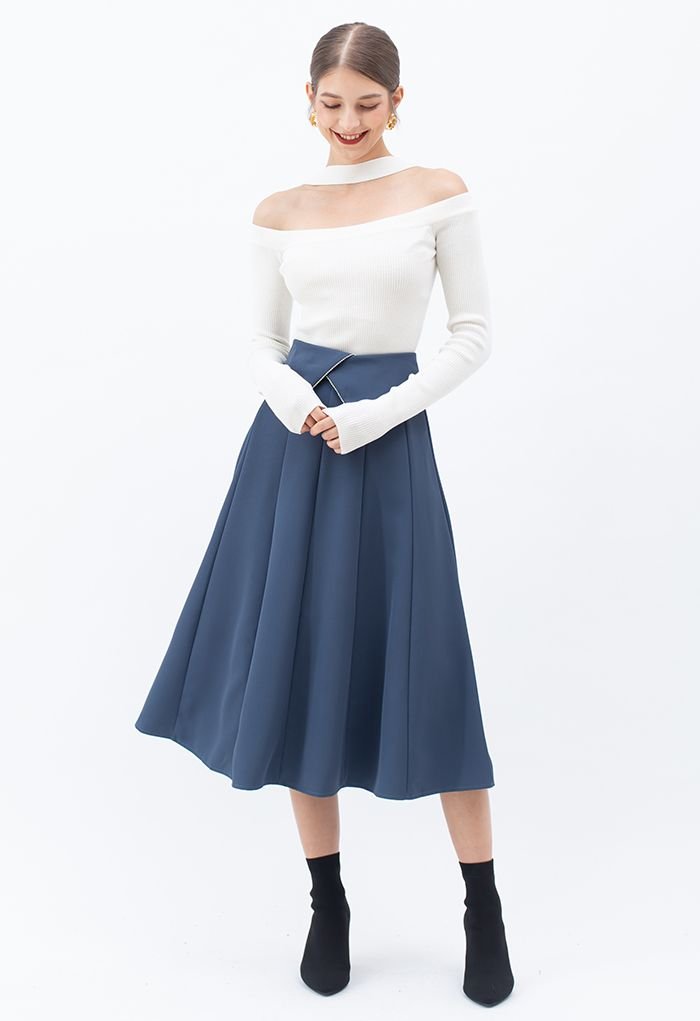
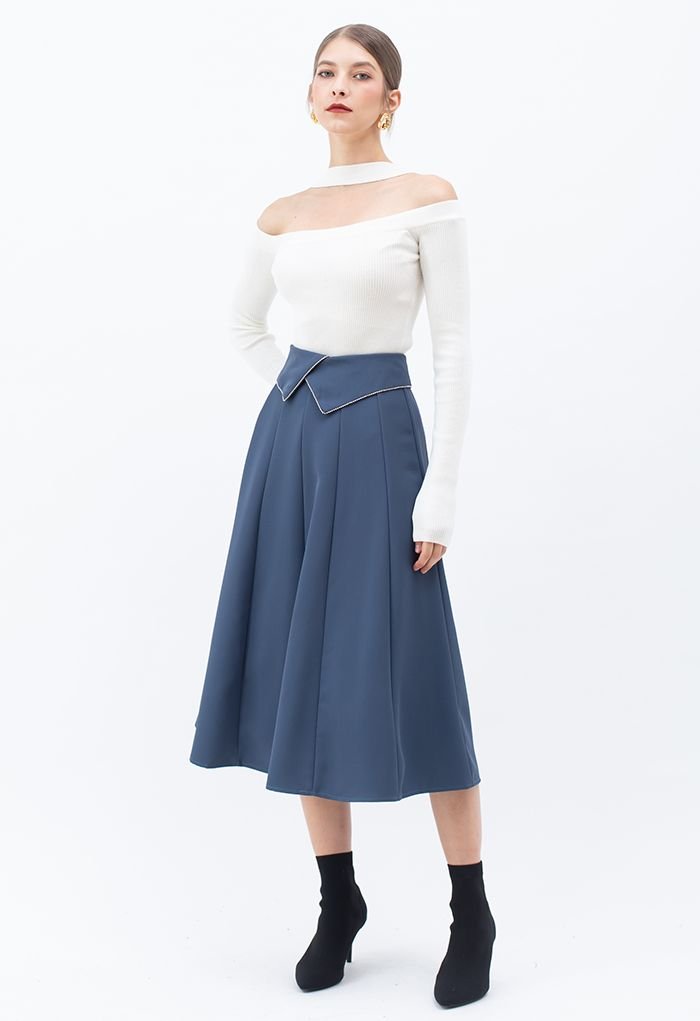
I have a thing for midi skirt – and although I am short, I have quite some in my closet. Today I am sharing the pattern for a beautiful skirt that I came across when “window-shopping” on the internet – the Corrie midi paneled skirt with flap detail.
The Corrie skirt is made of 12 panels that helps to elongate your legs and create a nice flare at the hem. It also comes with a high waist and folded flap detail. This timeless piece exudes elegance and femininity, making it a must-have for any fashion enthusiast. Whether you’re attending a social event or just want to elevate your everyday look, here are five tips to help you style the Corrie skirt.
- Embrace the High-Waisted Look: The Corrie midi skirt looks best when worn high on the waist. Tuck in a fitted blouse or a cropped top to accentuate your waistline and create an hourglass silhouette. This styling trick adds a touch of sophistication to your outfit and allows the skirt’s beautiful flare to take center stage.
- Play with Patterns and Prints: Have fun experimenting with patterns and prints! Opt for bold floral designs, polka dots, or even geometric prints to make a statement. Just remember to keep the rest of your outfit relatively simple to let the Corrie skirt shine. Pair it with a solid-colored top and neutral accessories for a balanced and chic ensemble.
- Crop It Up: For a modern twist, try pairing your Corrie midi skirt with a trendy crop top. This combination creates a stylish contrast between the voluminous skirt and a more fitted top, resulting in a fashion-forward look. Complete the outfit with some chunky heels or platform sandals for added flair.
- Layering Magic: As the weather cools down, don’t let go of your beloved Corrie midi skirt. Layer it up with a cozy sweater or a fitted blazer for a chic fall or winter look. Experiment with different textures and lengths to create visual interest. A leather jacket, a chunky cardigan, or a tailored coat can transform your flared midi skirt into a versatile piece for all seasons.
- Choose the Right Footwear: The right shoes can make or break your Corrie midi skirt ensemble. For a sophisticated and feminine look, opt for classic pumps or heeled sandals. If you’re going for a more casual vibe, consider pairing it with ankle boots or even trendy sneakers for a playful twist. The key is to find a balance between comfort and style.


As usual, my pattern is made in 10 sizes from XXS to 5XL so you may find a suitable size for yourself. If you are not sure which size suits you, take a look at the measurement table before doing anything here: SIZE GUIDE.
The pattern is made using layered PDF, please check for your desired size before printing so you won’t waste your paper. I have included a first page with many details about sizing and printing, so please first read the first page and make sure you know what size you need! If you still do not know how to print a layered PDF, please check for the printing instruction in this post: PRINTING GUIDE.
My patterns are now made in both A4/Letter paper and A0 paper format so you can print at home or at any print shop!
For home printers, you can print this using your home printer and either A4 or Letter paper. I calculated the printing area so that you will be able to use either type of paper to print the pattern out perfectly. Always print the first page first and check with the test square if you are printing at the right scale before you print out the whole pattern – avoid waste of ink and waste of paper, save the earth!
Some PC may print smaller than actual size even when you choose 100% scale – I don’t know why this problem exist, but my HP laptop cannot print true to size. I have to scale up to 103% to get the right size. You may need to check with your PC to see if it prints true to size, if not, scale up a bit.
SEWING INSTRUCTION
You will need
- Fabric of your choice. This pattern is made for woven fabric.
- Some fusible interfacing
- Zipper for closure at back
- Scissors, pencil or fabric marker, ruler, pins
- Sewing machine/Serger or needle and thread
- Printed pattern
How much fabric do you need for this piece of garment? This garment is not going to need a lot of fabric. To be precise, you may need to check how much fabric you need before buying. It will depend on the selected pattern size, the width, and design of the fabric you plan to use. Just to be sure, print all the paper patterns and lay them out at the width of fabric you plan to use (usually from 90 to 150 centimeters or 35 to 60 inches). Measure how much fabric you will need. Don’t forget to account for pieces that need to be cut multiple times and pieces that are cut on the fold.
Cutting instruction:
After printing out and taping all the pattern pages together, you will get something similar to this:

You will see that there are 2 sets of lines on each pattern piece. The inner lines are sewing line (and you sew along these lines), and the outer lines are cutting lines (you cut the fabric along these lines, remember the folding lines where you have to fold the fabric before cutting). The distance between sewing line and cutting line is seam allowance, and it varies from point to point. For example, the side seam allowance is about 1/2 inch (1.2cm), and seam allowance at hemline is 1 inch (2.5cm). This is the reason why I do not remove the sewing lines from the pattern. Please use it as a guide to know how much seam allowance you need to give at each seam.
The fabric will be cut into following pieces:
- Skirt Panel: cut 12
- Flap: cut 4 self fabric + 4 fusible interfacing
- Backing Strip: cut 1 on the fold
This skirt can be hacked easily. You can lengthen or shorten the panel piece to get a shorter or longer skirt. Make sure you prepare enough fabric for a longer skirt.
Place the pattern pieces on the fabric, pin the pattern pieces to the fabric to secure them in place. Using sharp scissors, carefully cut out the fabric pieces along the outer lines of the pattern. Take your time to ensure precise and clean cuts, as this will affect the fit and overall appearance of your garment.
Make sure to mark all notches and other design features such as darts, pleats etc. from the pattern pieces onto your fabric. When sewing the garment, pay attention to notches, they must match up.
Sewing instruction:
1. Serge/zig zag stitch the edges of the fabric pieces to prevent fabric from unraveling.
2. Apply fusible interfacing to their corresponding Flap pieces.
3. Take a pair of Skirt Panel, place them right side facing. Pin and sew to join them together. Do it with all 12 pieces, leaving one seam open. It will be the center back seam where you put in the invisible zipper.
4. Insert invisible zipper to the center back of the skirt. You can find some video tutorials on sewing invisible zippers here. Sew to finish the center back seam.
5. Place one pair of Flap pieces right side facing. Pin and sew around the edges of the Flap, leaving the long straight edge open. Clip the corner and the curve, turn the flap inside out and press. Do it with the other Flap pieces. You can also add lace trim in between two Flap pieces to get the contrast trim just like the original design.
6. Place the Flap and the main garment right side facing. The notch on the Flap matches the center front seam. Two Flaps will overlap each other. Place Backing Strip on top of the Flap. Pin and sew to attach the Flap and the Backing Strip to the main garment.
7. Fold the raw edge of the Backing Strip inward to cover the raw edge of the seam allowance. Fold the seam allowance toward the main garment. Staystitch the covered seam allowance to the main garment. You now have a cleanly finished waistline.
8. Press the hem allowances to the inside and hand stitch or use blind hem stitch to finish the hem.
And here is the download link:
CORRIE MIDI PANELED SKIRT (SIZE XXS – 5XL)
To download just click on the link above and choose “Save link as”. The PDF file will be downloaded to your device.
Happy sewing! And don’t forget to share your project on my Facebook page: Tiana’s Closet Sewing Patterns

