
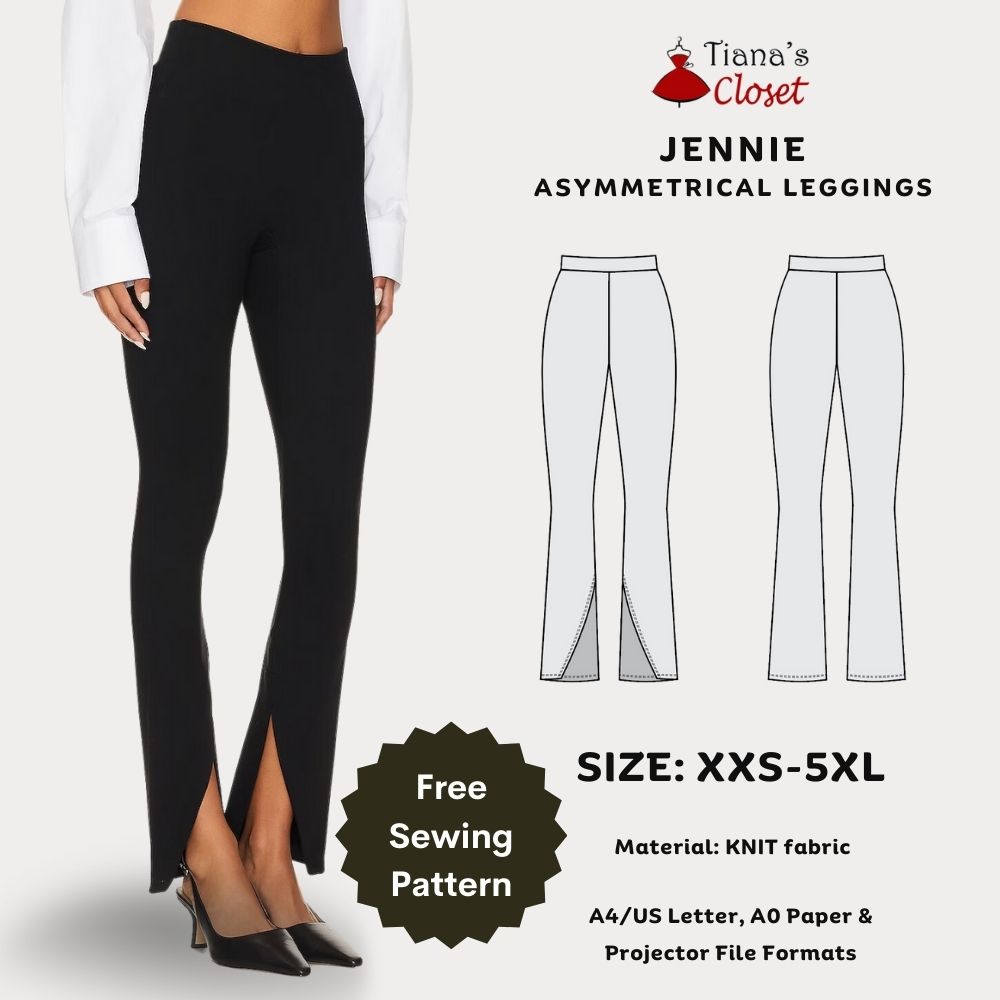
Elevate your leggings game with the Jennie Leggings, featuring a chic asymmetrical slit design that adds a touch of sophistication to your everyday look. Perfect for everything from a date night to a busy workday, these leggings boast a flattering high waist and a slightly flared leg for added style and comfort. Whether paired with an oversized button-down for the office or layered with a funnel neck top and longline jacket for a relaxed weekend vibe, the Jennie Leggings are as versatile as they are stylish. Plus, they’re a breeze to make—just a few simple seams, some basic sewing skills, and a little experience with knit fabrics are all you need to create a pair of these fashion-forward leggings in under an hour!

And below is the technical sketch and fabric requirement:

Tiana’s Closet patterns come in a range of 10 sizes, from XXS to 5XL, so you’re likely to find the perfect fit. If you’re unsure which size to choose, please refer to the measurement chart before you begin: SIZE GUIDE.
The pattern is provided in a layered PDF format, allowing you to select and print only the size you need. To avoid wasting paper, make sure to check the size you want before printing. The first page includes helpful information about sizing and printing, so please read it carefully before proceeding. If you’re unfamiliar with printing a layered PDF, detailed instructions can be found here: PRINTING GUIDE.
The patterns are available in both A4/Letter and A0 formats, so you can print them at home or at a print shop. For those with a projector, I’ve also included a projector file for easier use.
If you’re using a home printer, you can print the pattern on A4 or Letter paper. The printing area is designed to work with both paper sizes. Be sure to print the first page first and check the test square to ensure it’s the correct size before printing the entire pattern. This will help you save ink, paper, and the environment!
Please note that some printers may not print to scale, even when set to 100%. For example, I’ve found that my HP laptop prints smaller than expected, so I have to scale it to 103% to get the correct size. If you notice a similar issue with your printer, try scaling up slightly. One reader also suggested printing the PDF as an image to preserve the correct scale, though I haven’t tested this myself.
SEWING INSTRUCTION
You will need:
- Fabric of your choice. This pattern is intended for KNIT fabric. The fabric must be able to stretch about 50% so you can pull through.
- Scissors, pencil or fabric marker, ruler, pins
- Sewing machine ball-point needles/double needles/stretch needles for sewing stretch knit
- Serger for professional finish
- Printed pattern
Fabric requirement:
| Size | XXS | XS | S | M | L | XL | XXL | 3XL | 4XL | 5XL | |
| Fabric requirement (140cm/55″ fabric width) | cm | 125 | 125 | 125 | 125 | 125 | 130 | 130 | 130 | 130 | 130 |
| in | 50 | 50 | 50 | 50 | 50 | 52 | 52 | 52 | 52 | 52 | |
The amount of fabric needed will vary depending on the width of the fabric of choice. To be precise, you may need to check how much fabric you need before buying. It will depend on the selected pattern size, the width, and design of the fabric you plan to use. Just to be sure, print all the paper patterns and lay them out at the width of fabric you plan to use (usually from 90 to 150 centimeters or 35 to 60 inches). Measure how much fabric you will need. Don’t forget to account for pieces that need to be cut multiple times and pieces that are cut on the fold.
CUTTING INSTRUCTION
Pattern pieces:

The fabric will be cut into following pieces:
– Front: cut 2 mirrored pieces
– Back: cut 2 mirrored pieces
– Waistband: cut 1 piece on the fold
Place the pattern pieces on the fabric, pin the pattern pieces to the fabric to secure them in place. Using sharp scissors, carefully cut out the fabric pieces along the outer lines of the pattern. Take your time to ensure precise and clean cuts, as this will affect the fit and overall appearance of your garment.
Make sure to mark all notches and other design features such as darts, pleats, draw marks etc. from the pattern pieces onto your fabric. When sewing the garment, pay attention to notches, they must match up.
SEWING INSTRUCTION
1. Finish the diagonal bottom edge of the Front
Fold 1cm (3/8”) of the diagonal edge on the Front pant leg and topstitch to finish the hem.
2. Sew the pant legs
Place Front and Back pieces right sides together, matching the side seam and in seam. Make sure all notches along the seam line up correctly.
Stitch the side seam and inseam.
Neaten seam allowances together and press toward the back of the pant.
3. Finish the hem
Fold the unfinished inseam of the back pant leg to the wrong side of fabric and topstitch to finish the edge.
Fold the 1cm (3/8”) seam allowance of the pant hem to the wrong side and topstitch to finish hem.
4. Sew the crotch seam
Turn one pant leg to the right side, push it into the other pant leg so that right sides are facing.
Match the crotch seam and stitch.
Neaten seam allowances together and press toward one side.
5. Sew the waistband
Line up the short edges of the waistband, right sides together and stitch to get a loop.
Fold the loop in half, right side facing out, matching the raw edges.
Place the waistband on the right side of the garment, matching the raw edges. The seam of the waistband matches the back crotch seam of main garment.
Stitch the waistband to the main garment. Make sure you are using stretch stitch to ensure the waistband can stretch. Neaten seam allowances together and press toward the main garment.
DOWNLOAD THE PATTERN HERE: https://tianascloset.com/index.php/product/jennie-asymmetrical-hem-leggings/
Happy sewing! And don’t forget to share your project on my Facebook page: Tiana’s Closet Sewing Patterns or tag me on Instagram #tianasclosetsewingpatterns, I will be thrilled to see the garment in real life!