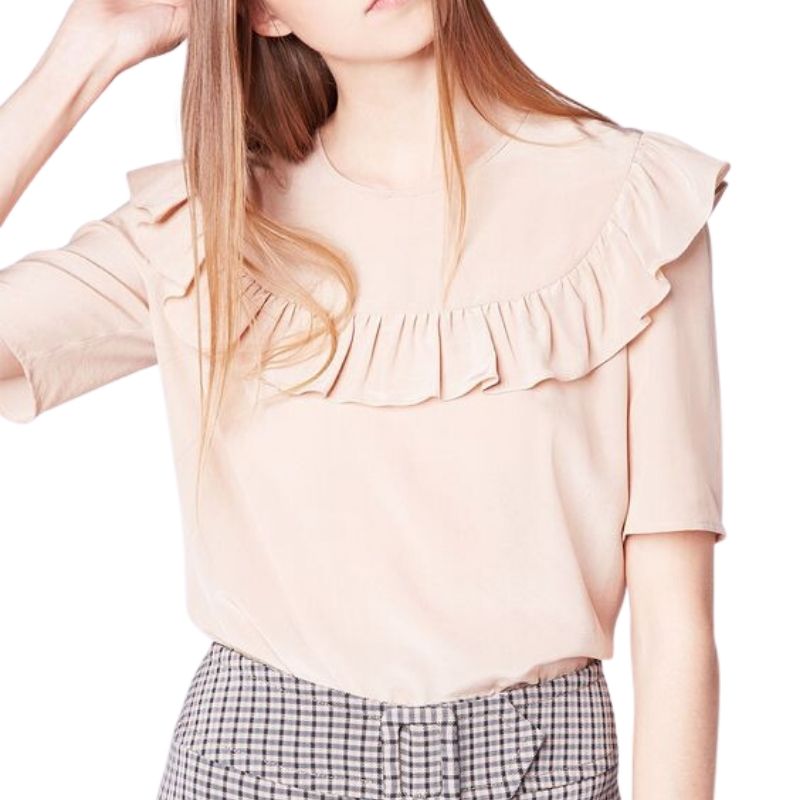
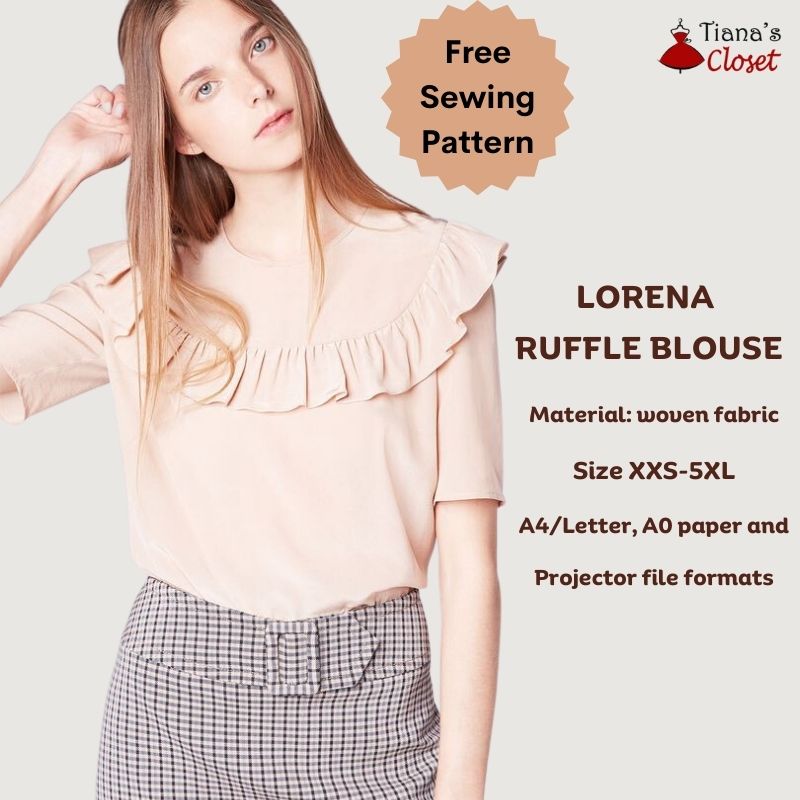
The Lorena blouse with ruffle trim detail is a quick and easy project, suitable for advanced beginners or intermediate sewers. This design features relaxed fit, with short sleeves and statement ruffle trim detail. Modest enough to wear to work, and fun enough to wear on a day out!

As usual, my pattern is made in 10 sizes from XXS to 5XL so you may find a suitable size for yourself. If you are not sure which size suits you, take a look at the measurement table before doing anything here: SIZE GUIDE.
The pattern is made using layered PDF, please check for your desired size before printing so you won’t waste your paper. I have included a first page with many details about sizing and printing, so please first read the first page and make sure you know what size you need! If you still do not know how to print a layered PDF, please check for the printing instruction in this post: PRINTING GUIDE.
My patterns are now made in Projector file, A4/Letter paper and A0 paper formats so you can use a projector, print at home or at any print shop!
For home printers, you can print this using your home printer and either A4 or Letter paper. I calculated the printing area so that you will be able to use either type of paper to print the pattern out perfectly. Always print the first page first and check with the test square if you are printing at the right scale before you print out the whole pattern – avoid waste of ink and waste of paper, save the earth!
SEWING INSTRUCTION
You will need:
- Fabric of your choice. This pattern is intended for WOVEN fabric.
- A button for back neck slit closure.
- Scissors, pencil or fabric marker, ruler, pins
- Sewing machine/Serger or needle and thread
- Printed pattern
The amount of fabric needed will vary depending on the width of the fabric of choice. To be precise, you may need to check how much fabric you need before buying. It will depend on the selected pattern size, the width, and design of the fabric you plan to use. Just to be sure, print all the paper patterns and lay them out at the width of fabric you plan to use (usually from 90 to 150 centimeters or 35 to 60 inches). Measure how much fabric you will need. Don’t forget to account for pieces that need to be cut multiple times and pieces that are cut on the fold.
CUTTING INSTRUCTION
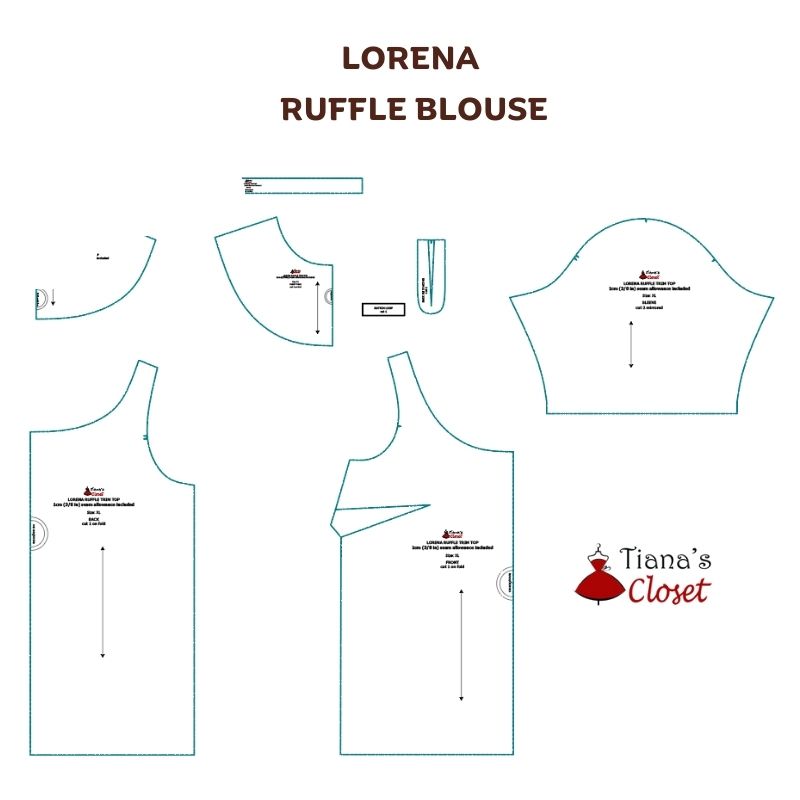
The pattern pieces are as follows:

The fabric will be cut into following pieces:
– Front: cut 1 piece on the fold
– Back: cut 1 piece on the fold
– Front Yoke: cut 1 piece on the fold
– Back Yoke: cut 1 piece on the fold
– Ruffle: cut 1 piece on the fold
– Sleeve: cut 2 mirrored pieces
– Neckline Binding: cut 1 piece
– Back Neck Slit Facing: cut 1 piece
– Button Loop: cut 1 piece (can use elastic instead)
Seam allowance:
– Sleeve hem: 2cm (3/4”)
– Blouse hem: 3cm (1 ¼”)
– All other seams: 1cm (3/8”)
All my patterns already include seam allowance. Just cut the pattern pieces as is and use a 1cm seam allowance when you sew.
Place the pattern pieces on the fabric, pin the pattern pieces to the fabric to secure them in place. Using sharp scissors, carefully cut out the fabric pieces along the outer lines of the pattern. Take your time to ensure precise and clean cuts, as this will affect the fit and overall appearance of your garment.
Make sure to mark all notches and other design features such as darts, pleats, draw marks etc. from the pattern pieces onto your fabric. When sewing the garment, pay attention to notches, they must match up.
SEWING INSTRUCTION
1. Serge/zig zag stitch the edges of fabric to prevent unexpected unravelling.
2. Sew the back neck slit
– Fold the piece for button loop in half lengthwise, right side facing in and press to get the center crease. Fold the two sides of the fabric to the center crease and press again to get two more creases. Fold the fabric again so that the two new creases match and the raw edges are hidden inside the fold. Topstitch close to the folded edge to get a tube. Fold the two ends together to form a loop.
– (Optional) Apply fusible interfacing on the Back Neck Slit Facing.
– Transfer the slit marking on the right side of the Back Yoke. Place the button loop at the center back of the Back Yoke, 1cm (3/8”) below the neckline. The end of the button loop must go past the slit marking. Make sure the button loop is large enough for the button to go through.
– Transfer the back neck slit marking on the wrong side of the Back Neck Slit Facing. Place the Back Neck Slit Facing on top of the Back Yoke so that the right sides are facing, and the button loop is sandwiched in between two pieces.
– Stitch along the V shape of the back neck slit, using a small stitch length. Pivot fabric at the point of the V. Backstitch at both ends of stitching line.
– Cut the slit open. Clip close to the V point but do not cut through the thread.
– Turn the facing to the wrong side of fabric and topstitch at 1cm (3/8”) from the folded edge to hold the facing in position.
3. Sew the yoke
– Place Front Yoke and Back Yoke right sides together, matching the shoulder seam. Stitch the shoulder seam.
4. Sew the lower garment
– Fold and sew the bust darts on Front piece.
– Place Front and Back pieces right sides together, match the shoulder seam and stitch.
5. Gather the ruffle trim to match the bottom end of the yoke
– Video tutorial: https://tianascloset.com/index.php/2023/08/31/how-to-gather-fabric/
6. Baste the ruffle trim to the yoke
– Place two short ends of the ruffle together, right sides facing and stitch.
– Use a narrow rolled hem to finish the non-gathered edge of the ruffle. Video tutorial:
– Pin the ruffle to the bottom edge of the yoke, the seam of the ruffle matches the center back of the yoke. Baste if needed.
7. Sew the main garment
– Place the lower part of the garment and the yoke right sides together and pin. The ruffle is sandwiched in between two layers. Make sure to match the shoulder seam on the yoke and the lower part.
– Stitch to get the main garment.
8. Sew the sleeve
– Fold the sides of the sleeve right sides together, matching the sleeve seam and stitch.
– Fold 0.5cm (1/4”) of the sleeve bottom to wrong side of fabric, then fold again 1.5cm (5/8”) and topstitch to finish sleeve hem.
– Set in sleeve. Video tutorial: https://tianascloset.com/index.php/2023/11/06/how-to-sew-set-in-sleeve/
9. Finish neckline with bias binding
Video tutorial: https://tianascloset.com/index.php/2023/08/04/how-to-sew-bias-binding/
10. Finish garment hem
– Fold the hem of garment 0.5cm (1/4”) to the wrong side of fabric, then fold again 2.5cm (1”) to the same direction and topstitch to finish the hem.
11. Attach button to the back neck slit to finish.
DOWNLOAD PATTERN FROM HERE: https://tianascloset.com/index.php/product/lorena-ruffle-trim-blouse/
Happy sewing! And don’t forget to share your project on my Facebook page: Tiana’s Closet Sewing Patterns or tag me on Instagram #tianasclosetsewingpatterns, I will be thrilled to see the garment in real life!


Pingback: Lorena Ruffle Trim Blouse – Free Sewing Pattern - Do It Yourself