It is really hot these days, the sun keeps on burning the ground until late in the day, and I found out my skin got tanned even when I was careful enough to wear sun-proof clothing. This made me think of my little baby boy who is active under the sun lots of the time and I decided to make him something to protect his tender skin.
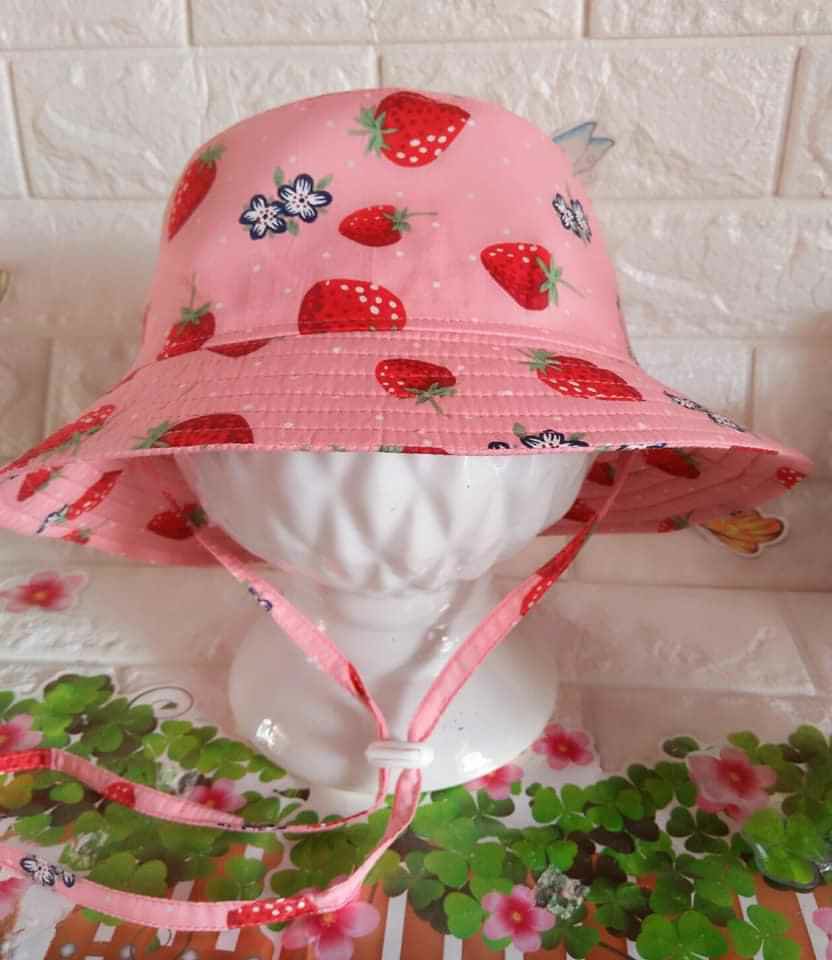
The first thing I made for my boy is a reversible bucket hat, and I think that it is quite nice, so I’d love to share it with loving mothers who are readers of this blog.
This 3-page pattern is a very easy one to cut and sew, and it takes just some small pieces of fabric. You can make it in just about 1 hour.
The brim of this hat can be modified if you want it larger or smaller. I want it large to cover my baby’s head so the pattern has a wide brim of 10cm/4in. I also made another hat with a 7cm/2.75in brim.
The pattern is made for baby under 3 years old whose head circumference is under 52 centimeter/20 inches, so it is quite small. I think I will make a pattern for bigger children and grown-ups next time.
Because my baby is a boy, I do not make any decorations to the hat (maybe because I am too lazy, I was just making excuses). But if you have a girl, a bow or something girly would look beautiful on this hat.
The pattern consists of 3 pieces: the Crown, the Side and the Brim. Cut out 2 sets of these pieces using 2 different colors, and after sewing them together, you will have a reversible hat to mix with different outfits.
Sewing tutorial: the tutorial is made with a little change – the top and side is single layered (not reversible) and the whole hat is lined for better shape, also the brim is cut into 4 pieces + 2 pieces of thick fabric lining.
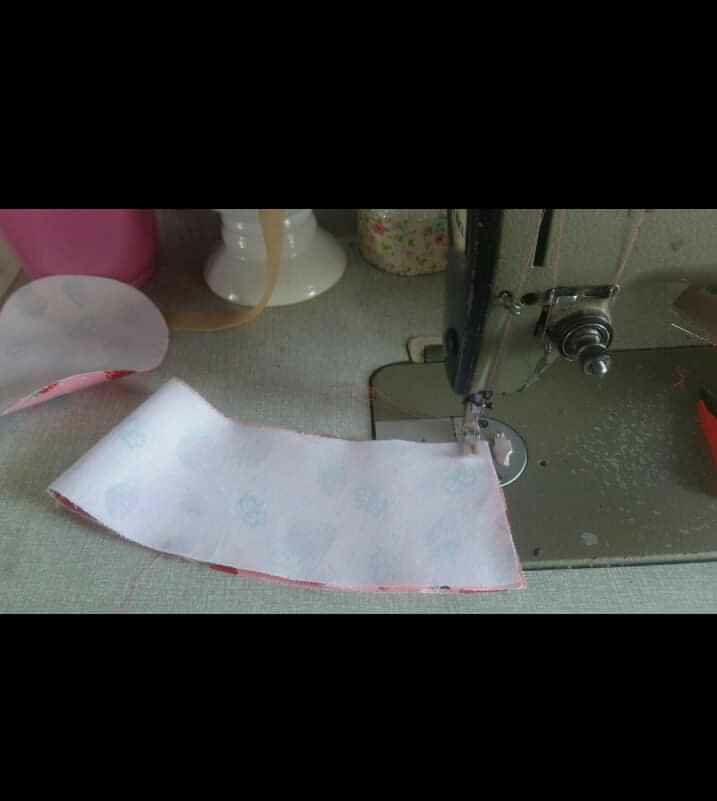
Cut the shell fabric and lining fabric. Iron all lining pieces to the shell pieces.

Iron facing to the outer brim piece. Sew the two brim pieces right side facing. Repeat with the inner brim pieces (unlined).

Place the inner and outer brim right side facing and sew along the outer edge.

Turn the brim out, sew parallel lines along the edge of the brim.
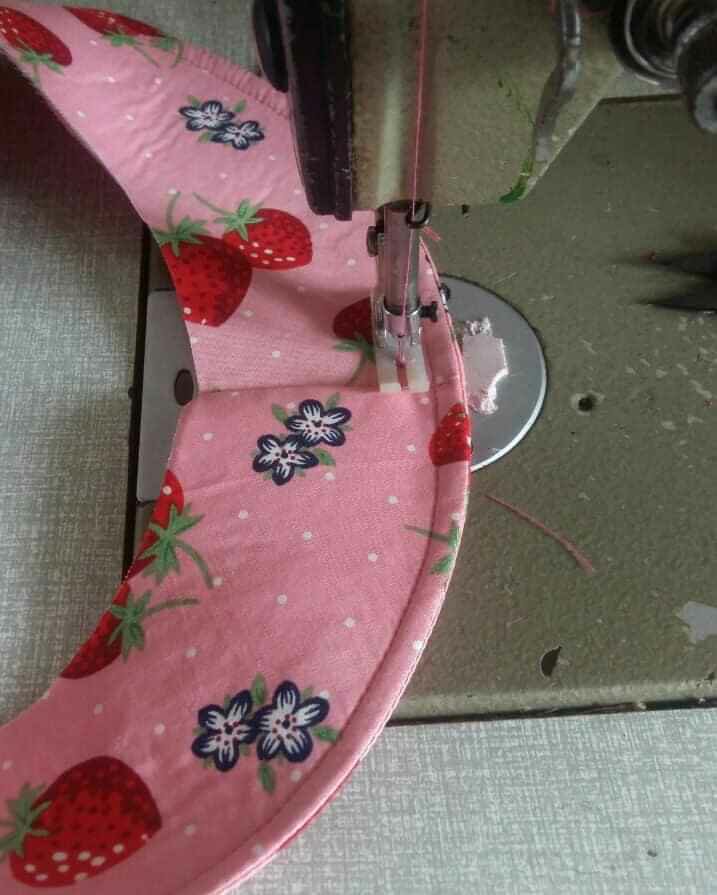
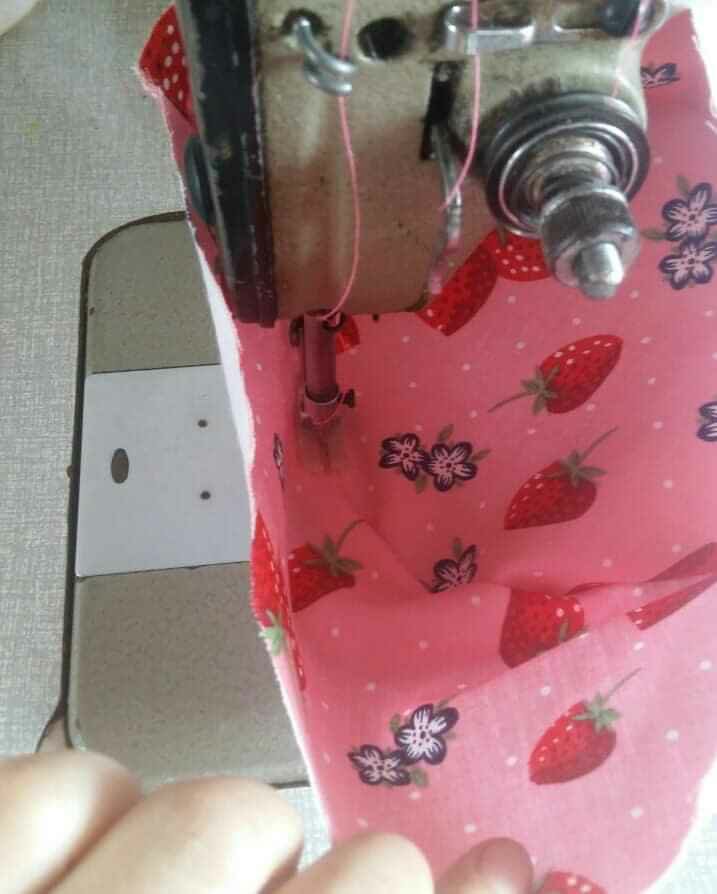
Sew the side of the bucket hat.
Put the smaller opening of the side hat to the crown, right side facing. Sew the crown to the side.
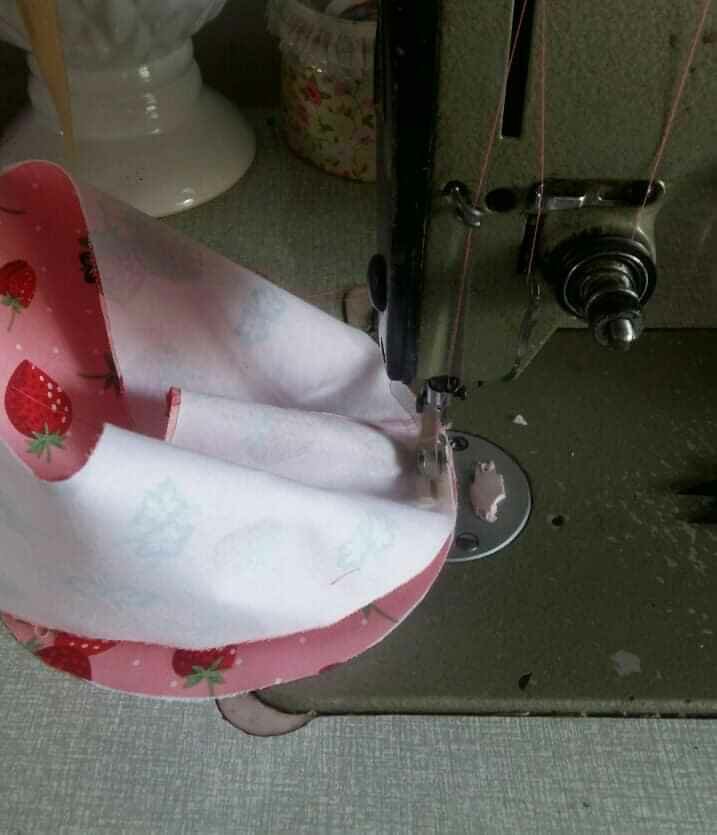
Serge or run a zig-zag stitch to prevent the raw edge from fraying.
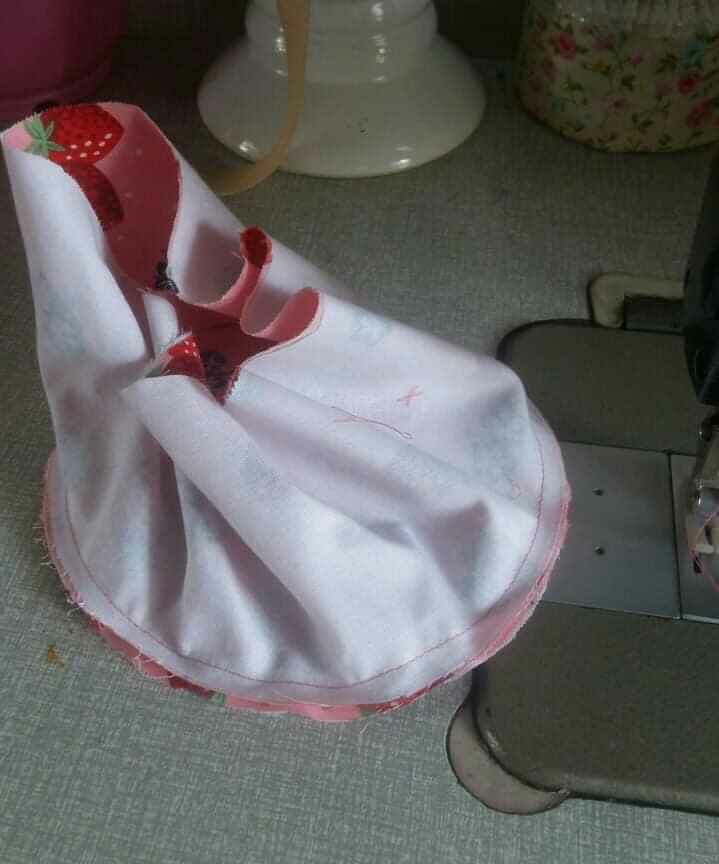
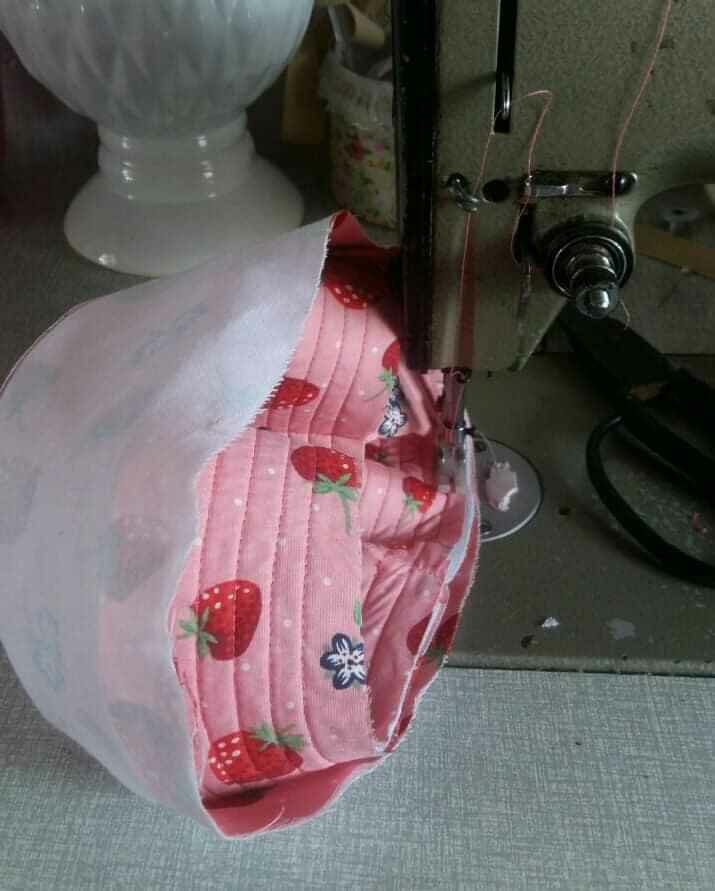
Turn the hat top and run 2 flat felled lines to secure the shape.
It will look like this after sewing.

Attach the brim to the hat. In this case I put the brim inside the hat and sewed. Remember to sew on the wrong side of the hat top.
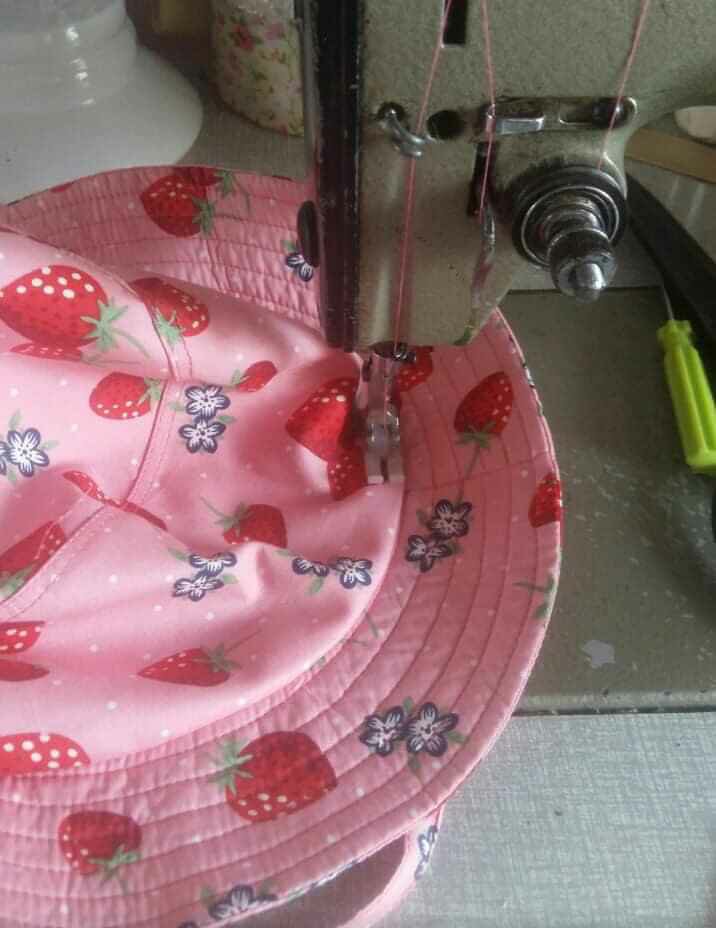
Pin the string to place. Fold a 4cm wide bias tape in half, attach it to the seam between the hat top and the brim (the bias tape is placed on the brim side).

Turn the hat over and secure the bias tape to the hat top. Voila! You have made it, the bucket hat!
This is how it looks inside the hat.
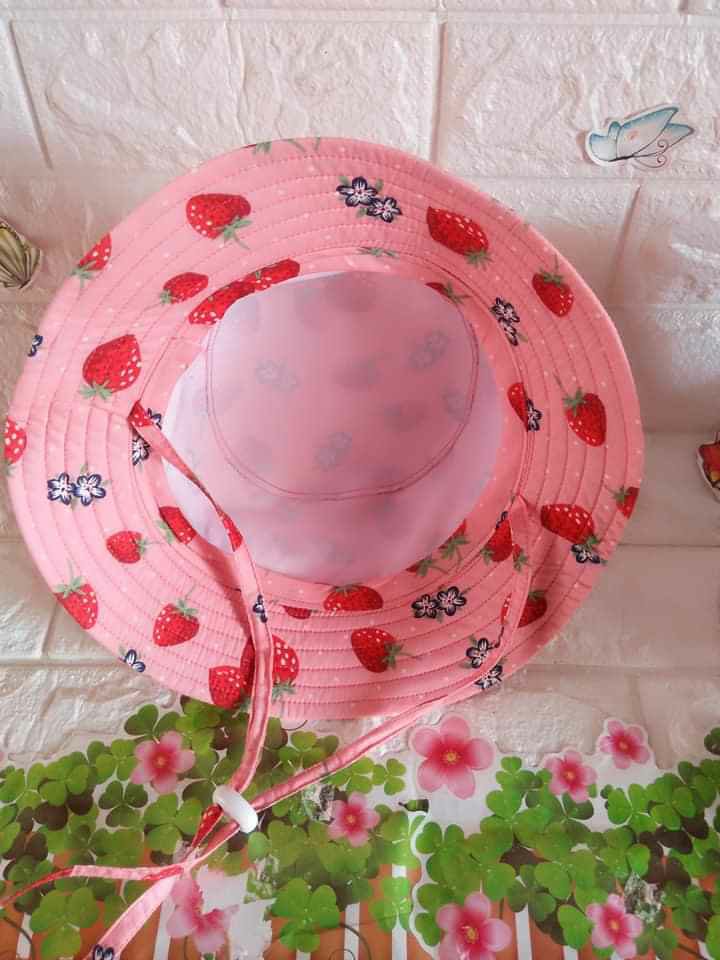
And this is it outside:
Happy sewing,
Tien the Little Sewist


Hi, I’m about to start making your baby hat, just a little confused with the pattern as there are two lines on the pattern pieces, are the two lines two different sizes or is the inner line for the facing?
Hi Kristel, the two sets of lines are sewing lines and cutting lines. You cut along the outer lines and sew along the inner lines. The inner line is also for the facing.
Fantastic! thankyou for getting back to me. Can’t wait to sew it x
Hi.
Just been looking for baby sun hats to sew for a friends new baby. could you please tell me what size this will come out at. the baby is only a newborn
Regards
Lynne
Hi Lynne,
This one is for kids from 2-5 years old (head circumference 16-18 inches), it may be a bit large for a newborn (14-15 inches). You may consider printing at 80% scale to get a smaller pattern for the baby.
Great pattern. Did you happen to make on for older kids and adults?